
Autumn has finally arrived and with it comes one of my favorite seasonal items, pumpkins. Beyond what Starbucks has done to create the craze, pumpkins really are a superfood that you should be excited about eating. They are full of Vitamin A, C, Iron, Magnesium, and of course fiber (doesn’t it alwayscome down to fiber?). Better yet pumpkin is low in fats, sugars and thus calories. One cup of pumpkin only has 40 calories. That’s like what 2 potato chips? I’d rather eat a full cup of pumpkin it would certainly fill me up more (OK, so I’d probably end up eating a potato chip too, but I had all that fiber so it’s OK, right?)
Pumpkin also is a super-food for dogs. Not only is it good for them a lot of dogs actually like it. Pumpkin can help dogs regulate their digestion. It also serves as a panacea for any intermittent GI issues (it’s kinda like Pepto but for pups).

Now that you are all psyched about eating pumpkin instead of drinking artificial pumpkin in your coffee let’s get down to the basics. Not all pumpkins are created equal. The pumpkins we use to make Halloween jack o’lanterns, while cute for decor are actually not good for eating. Do they taste OK? Not really, the texture is really dry. The pumpkins you want for eating are smaller have a higher sugar content and a more moist fruit. Most places market them as either pie pumpkins or sugar pumpkins. Either way they are exactly what Libby’s uses in their canned pie filling. These are the droids… er… pumpkins you’re looking for.
When picking a pie pumpkin there are four things to consider color, size, sound, and blossom end. Let’s start easy… color. The color of a ripe pumpkin should be vibrant orange, not fluorescent but definitely vibrant. Paler pumpkins are not ripe and are dry and less sweet. Sugar pumpkins should be smaller than your standard jack-o-lantern pumpkin. My guide is if it is larger than a honeydew melon it is too large. The larger pumpkins will be less sweet than the smaller ones. Sound is actually the easiest way to test for true ripeness. Sometimes you will find a pumpkin of good color and size but it won’t pass the sound test. Simply flick your finger across the surface, if it sounds hollow, you are golden. At this point just take a look at the blossom end (opposite the stem) and make sure it has fused. If there are no soft spots, you’re all set. Look over the skin, just to make sure it has no puncture marks or soft, rotten spots.

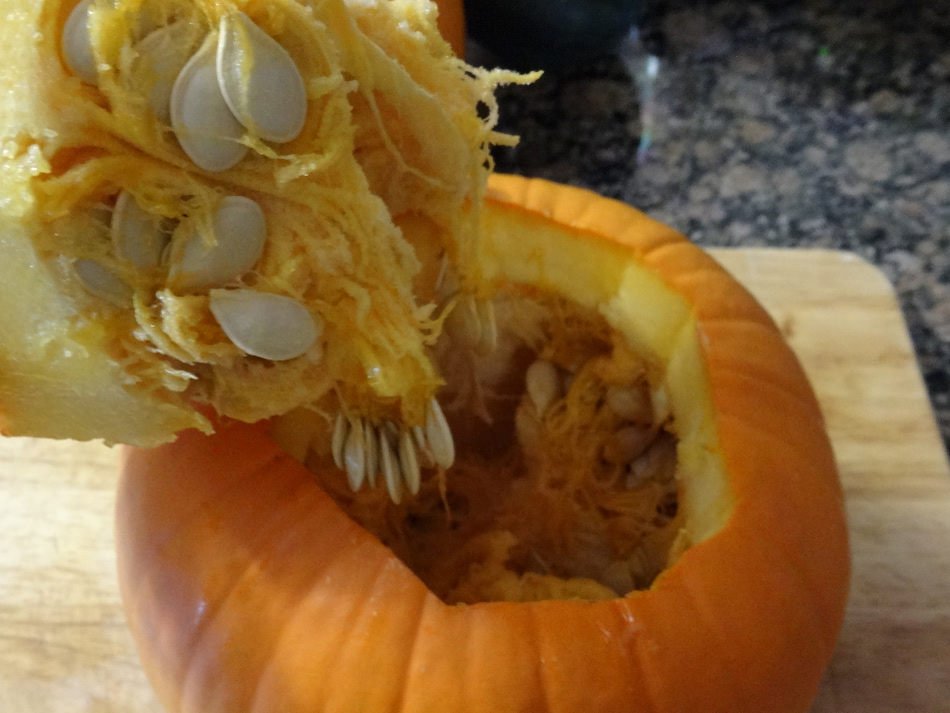
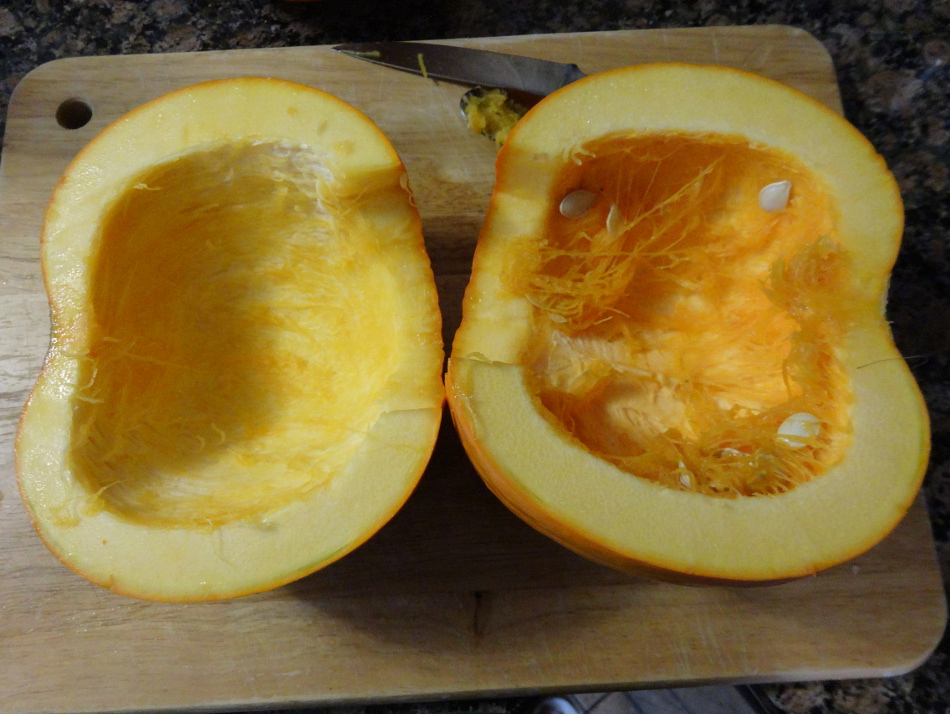

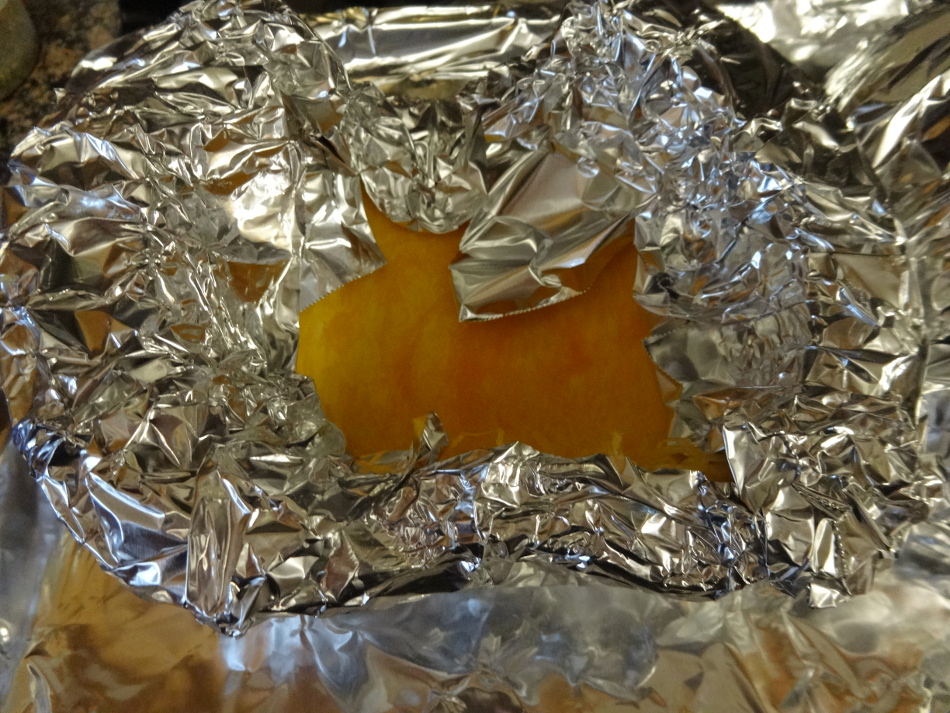

To prep your pumpkin for roasting you need to wash it with soap and water to remove all the dirt and any fertilizer or pesticide on the skin. Remove the stem, just like you would a jack-o-lantern, but just throw that small piece away. The flesh around the vine will be woody, and will have poor texture and flavor. Cut the pumpkin in half and also remove the blossom scar (it’s also woody). Remove the seeds (save them if you like pepitas, otherwise you can just throw them away). Cover each half in aluminum foil and place open end down on a foil covered cookie sheet. Placing the pumpkin open side down will shorten the cooking time and keep the flesh moist. It creates a steam chamber so all the meat is both roasted and steamed, thus juicier.
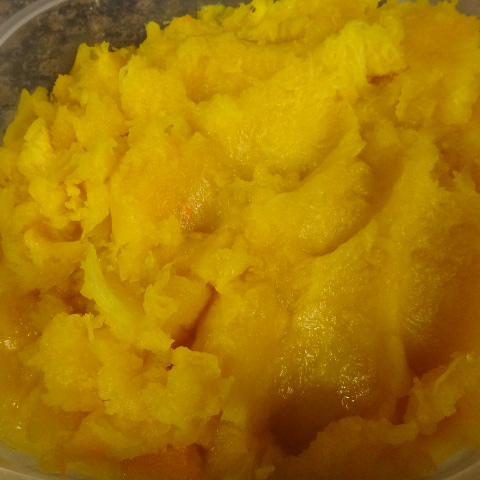
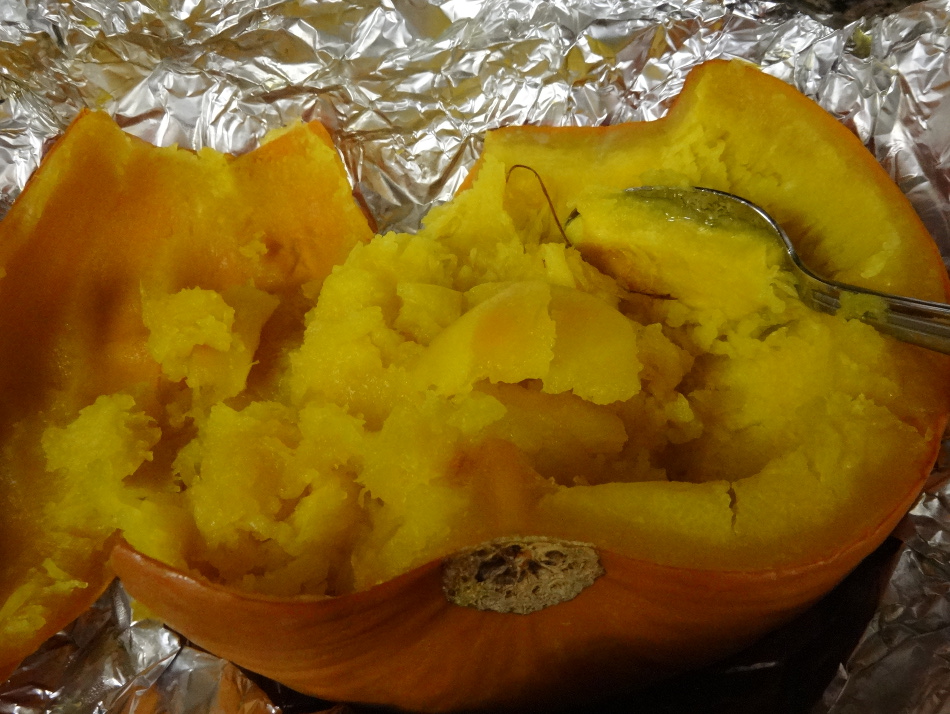
Roast the pumpkin at 350 degrees until you can pierce it with a fork. Once removed, let it cool completely. Remove the foil and scoop the cooked flesh from the skin with a spoon. I like to puree mine right away so I tend to scoop the flesh into the bowl of my food processor. Pulse the flesh in the food processor until smooth. Mete out into bags or containers and freeze what you will not use right away. When you are ready to use it just thaw it. Frozen pumpkin, properly sealed in a freezer-safe bag will keep for up to a year.
A note: pumpkin you roast and puree yourself will be thinner than canned pumpkin. Companies remove a lot of the juices when they can, so if you use this in pie it will create a lighter fluffier filling. Don’t worry it will set wonderfully. If you are adding some of your puree into a cake batter or a bread dough you have two options, cut back a little on liquid (use 3/4 of the milk, oil, and/or, water) or add more flour until your batter or dough gets to the correct consistency.
