
There are few things better in this world than a perfect pie crust. Flaky and soft, a contradiction in terms, but for pie crust it’s perfect. I love the crunch of a great pie crust it gives so much depth to the soft filling on the inside. The debate over what makes the perfect pie crust has been a long and arduous fight. Those in the shortening camp dogging those of us in the butter camp. We here at ONK embrace butter, not just because it is actual food (see post on oils and fats), but it really creates a better pie crust. Lard, while food, can also be used to make a pie crust but the crumb of the crust is lacking and honestly, lard-based crusts are usually a little greasy. A lot of cooking shows will tell you to use a combination of butter and shortening, but we here at ONK know that is just hogwash. If you properly execute a butter crust you will get the soft and flaky crust you seek.
My mother taught me to make pie crust with shortening, and it was so temperamental. So many pies ended up just not quite right. No matter what I did, the crusts were always just so-so. Then came a day I had to make a pie and I was out of shortening. It was 9PM the day before Thanksgiving. The local grocery store was closed and the closest 24-hour market was two towns away. I had just gotten off of work and had opened a bottle of wine for my quiet night in, so there was no way I was driving half an hour to get shortening. So I pulled out butter, and since then, I’ve never looked back. Butter crust was not only easier, it rolled better, and never stuck to the pan.
Here at ONK we always use the food processor for pie crust. You can use a pastry knife or two steak knives, but this is one time when the hassle of washing the pieces and parts of the food processor are worth it.
Ingredients:
- 4 oz cold butter (1 stick)
- 1 1/4 cups flour
- 3 Tablespoons ice cold water
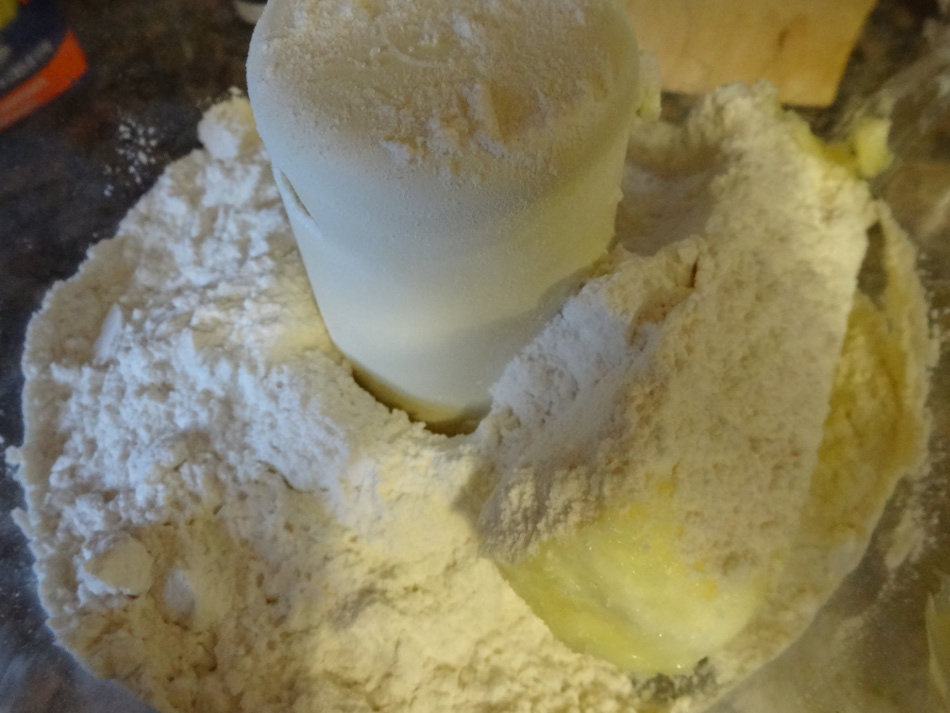
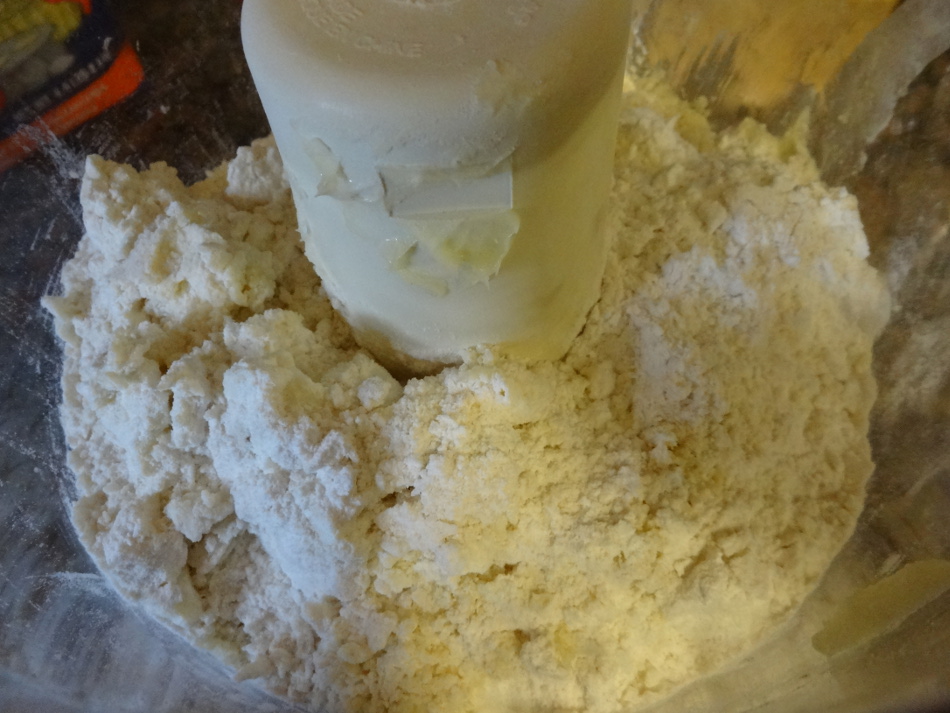
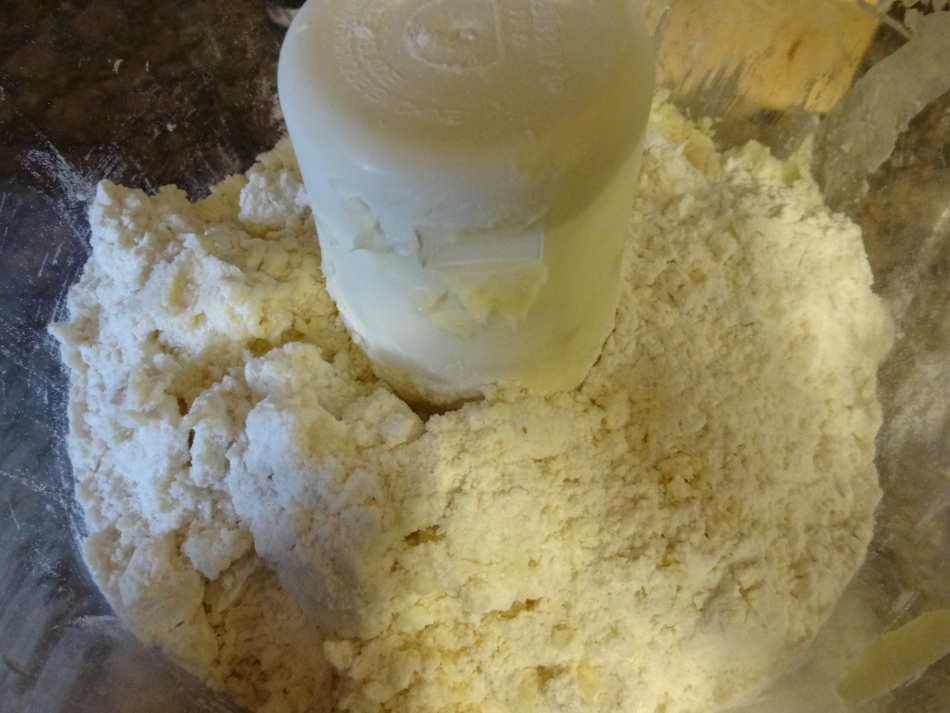
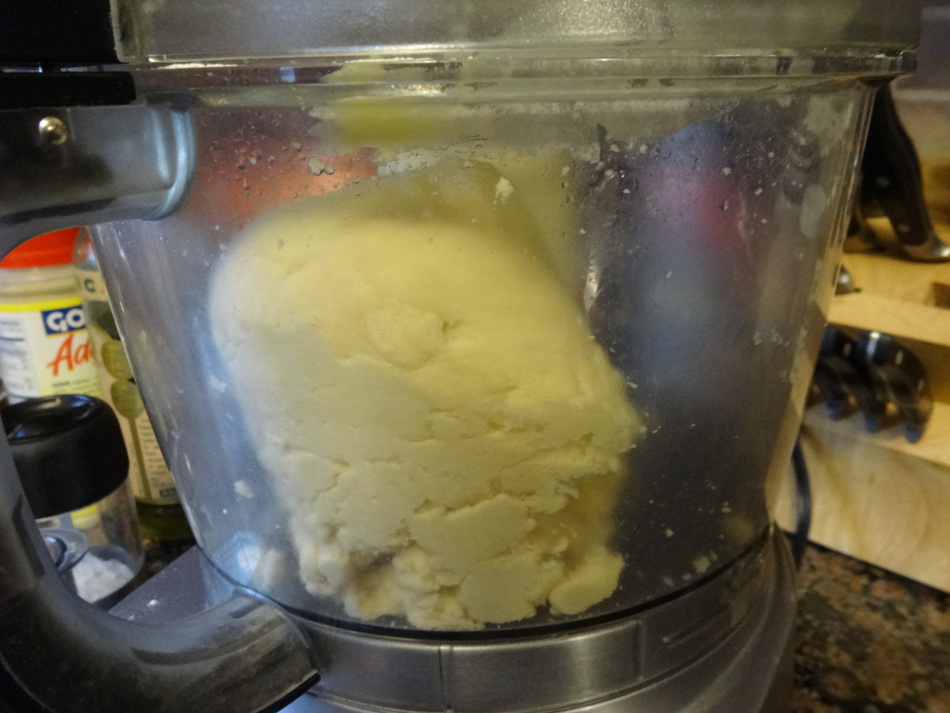

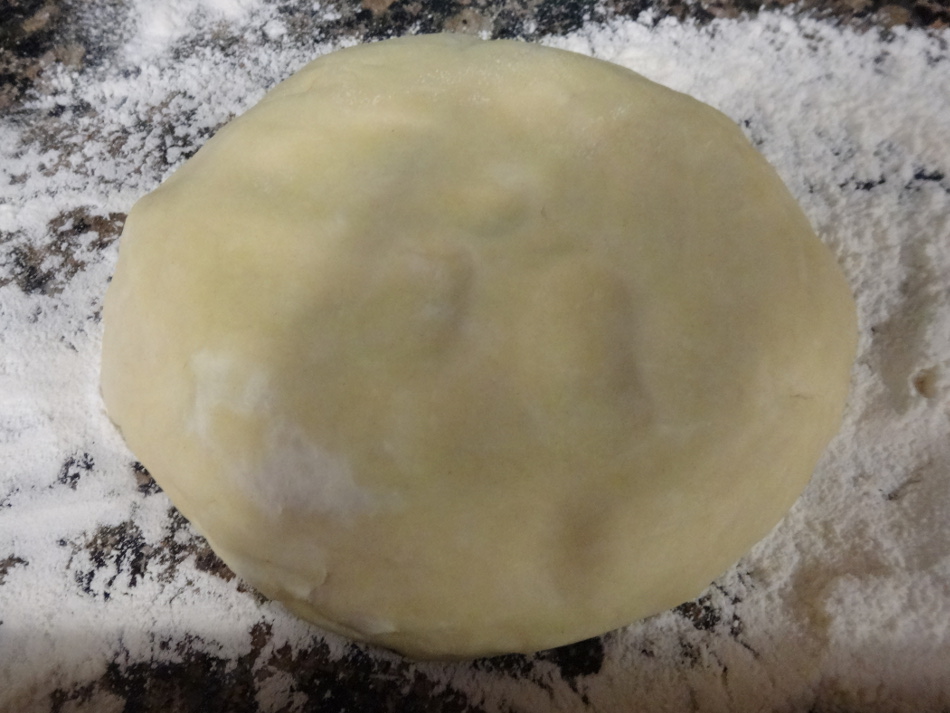
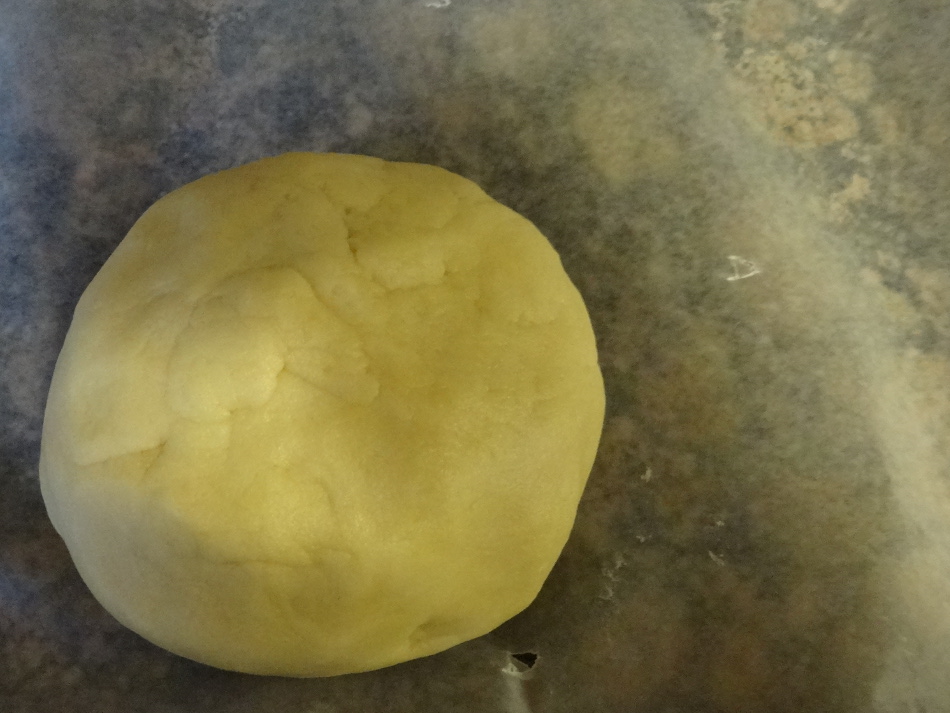
Slice the butter into small cubes, (Tablespoons, and then fourths is usually sufficient). Put your butter in the bowl of your food processor and top with the flour. Pulse your food processor until a fine meal is formed (look for the grains to be about the size of couscous). Add the water slowly, no more than a half-Tablespoon at a time, pulsing after each addition. When you see a dough start to form, stop adding the water. Continue pulsing until the dough forms a ball. It is really obvious when the dough is starting to form, so don’t over think it! However, if you keep pulsing and the dough doesn’t come together add a little more of the water. It won’t hurt the dough, I promise. After making it a few times you will get a better feel for when the dough is coming together. Cover your dough in saran wrap and refrigerate for 15 minutes. Just long enough to firm it up a little bit. You can freeze it at this point if you are not ready to make your pie.
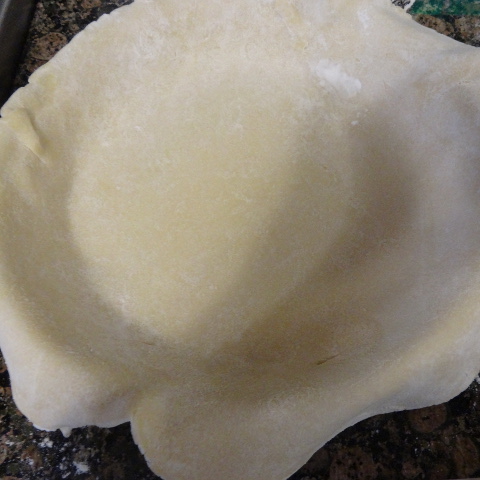
If you’re using it today, roll out your crust on a well-floured surface. I usually wipe clean a section of counter right before I roll, flour the counter, and roll it directly on the counter. Roll to about 1/6 inch thick. Place your crust in the pie plate by rolling it up around your rolling pin and unrolling it over the pie plate, this keeps the dough from stretching and becoming thin where you touch it (neat trick right!?).
If you need to pre-bake your crust (for a custard or gel pie) score the bottom with a fork, and weigh it down with pie weights. If you don’t have pie weights, use a packet of foil filled with dried beans (don’t use those beans in a recipe later, they will taste bad! I save them in a baggie to use later to weigh down another pie). Bake at 350 degrees for twenty to twenty-five minutes and increase your temperature to 400 for an additional five minutes until you get a nice golden brown. Take it out, let it cool, and fill it as directed in your pie recipe.
For a sweet crust use six Tablespoons unsalted butter, two Tablespoons salted butter, and add one teaspoon of sugar. The little bit of salt will nicely contrast to the sweetness of the filling. For savory crusts, use one stick of salted butter.
